
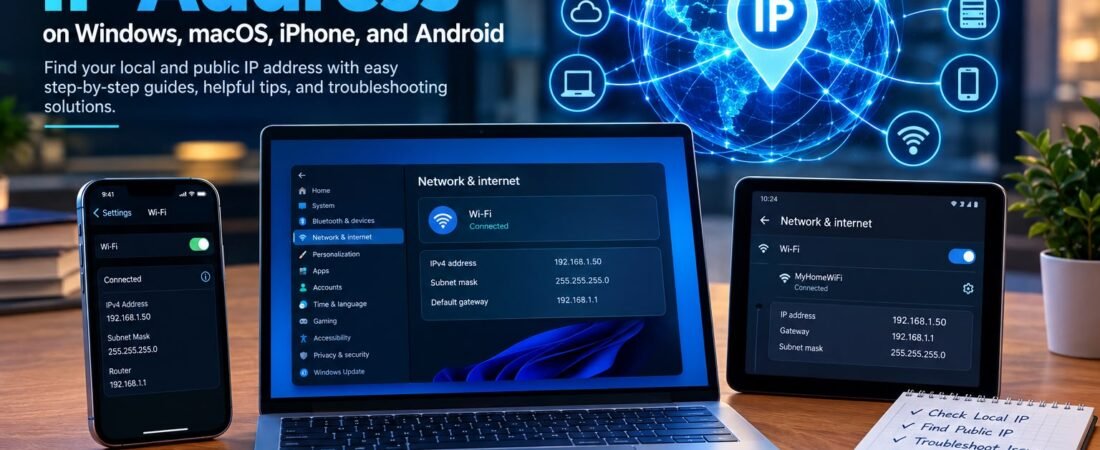
Have you ever sat down at your home office desk, eager to print out a handful of urgent documents, only for your wireless printer to act like it’s never seen a computer in its life? Or perhaps your internet has been dragging its feet all afternoon, and when you finally call your internet provider’s support line, the representative casually asks you a question that makes you freeze:
“Hey, can you go ahead and shoot me your local IP address?”
If you just stared blankly at your screen wondering if they were speaking a foreign language, take a deep breath. You are definitely not alone. Most of us go through life streaming movies, scrolling social media, and working remotely without ever giving a single second thought to the digital plumbing running beneath our floors. Yet, behind every webpage that loads and every file you send, your computer is locked in a constant, silent conversation with dozens of other machines.
To keep that conversation organized, every single device needs a mailing address. That address is what we call an IP address.
The real catch—and the reason people usually end up frustrated when they try to find it—is that your gear doesn’t just have one address. Your laptop has an internal home address, your phone has a different one, and your router shares an entirely separate public address with the wide-open internet.
If you’ve ever tried googling a quick fix only to drown in confusing tech jargon, this guide is for you. Let’s walk through everything step by step, using plain, human English to break down how these addresses actually work and exactly how to find yours on Windows, Mac, iPhone, iPad, and Android.
1. Why Do Devices Even Need IP Addresses? (A Simple Neighborhood Analogy)
Imagine you live inside a sprawling apartment complex.
Every single home has an internal box number—let’s call yours Apartment 3B. If you want to drop a handwritten note to your friend living down the hall, you don’t need to write out their country, city, street name, and zip code. You just scribble “Apartment 3B” on the envelope and slide it straight into their slot. That internal system works like a charm for everyone living under that specific roof.
Now, what happens if your cousin living across the country wants to mail you a physical package? “Apartment 3B” won’t work anymore. The postal service needs your complete street address, city, state, and postal code to successfully route that package across state lines and into your hands.
Your home network functions in the exact same fashion:
- Your Private IP Address acts like your apartment number (something like
192.168.1.15). It identifies your laptop or phone inside your own private home Wi-Fi ecosystem, letting your router route traffic smoothly between your devices. - Your Public IP Address is your global street address. It is the unique identifier assigned by your Internet Service Provider (ISP) that lets websites, gaming servers, and streaming apps recognize your connection out on the vast global web.
Getting a firm grasp on this single difference cuts out about ninety percent of the confusion people experience when they try looking up their network settings.
2. Peeking Behind the Curtain: IPv4 vs. IPv6
When you finally dig into your network properties, you might notice that your devices occasionally list two completely different sets of numbers. One format looks like four clusters of numbers separated by dots, while the other looks like a massive, colon-separated string of letters and numbers.
The Old Faithful: IPv4
The veteran format that still powers most of the globe is IPv4 (Internet Protocol version 4). A typical example looks like this: 192.168.1.55
Each of those four sections (officially called octets) can range anywhere from 0 to 255. Back when the foundational architecture of the internet was first being mapped out decades ago, nobody in their wildest dreams imagined we would ever run out of combinations. After all, over 4 billion options felt like an infinite number.
Fast forward to today, where you, your spouse, your teenagers, your smart TV, your wireless security cameras, your smart thermostat, and your connected bulbs all demand network access. We officially burned through the global pool of unique IPv4 addresses years ago. To keep things from grinding to a halt, engineers invented clever workarounds like NAT (Network Address Translation), allowing entire households to share a single public-facing IP address while utilizing private internal addresses behind the scenes.
The Modern Standard: IPv6
To permanently solve the scarcity bottleneck, internet pioneers built IPv6. It relies on a sprawling 128-bit address architecture written using hexadecimal notation separated by colons, looking something like this: 2001:db8::ff00:42:8329
This format provides an astronomical number of unique addresses—enough to give every single grain of sand on planet Earth its own distinct IP several times over. If your device displays both an IPv4 and an IPv6 address side by side, don’t panic or try to delete one. It simply means your operating system and local router natively support both protocols.
3. How to Track Down Your IP Address on Windows 11 and Windows 10
Whether you’re running a fresh Windows 11 layout or a trusty Windows 10 setup, unearthing your local network details takes only a few moments.
Method A: The Point-and-Click Route (Windows Settings)
If you prefer navigating graphical menus over typing commands, the Settings application is your best bet.
- Hit the Windows Key + I on your keyboard to instantly pull up the Settings menu.
- In the sidebar navigation pane, click on Network & internet.
- At the top of the window, you’ll see your current connection status. Choose Wi-Fi if you are on wireless, or Ethernet if you are plugged directly into the wall or router via a physical cable.
- Click on the name of your active home network to open its property sheet.
- Scroll down through the configuration choices until you see the Properties block.
- Look specifically for IPv4 address. It will typically begin with numbers like
192.168.x.xor10.x.x.x.
Right around that same spot, you’ll also spot your IPv6 address, your active DNS servers, and your Default Gateway (which is your router’s internal address).
Method B: The Quick Route (Command Prompt)
If you want the answer in three seconds flat without clicking through menus, Command Prompt is remarkably efficient.
- Press the Windows Key + R shortcut on your keyboard to open the small Run dialog box.
- Type
cmdinside the input box and hit Enter. - When the black terminal window opens up, type the following command:ipconfig
- Press Enter.
Windows will immediately generate a readout detailing every network adapter present on your machine. Scroll through to locate the active section—typically named Wireless LAN adapter Wi-Fi or Ethernet adapter.
Look directly across from the line reading IPv4 Address. That sequence is your computer’s local network identifier. Right beneath it, you’ll also see a line labeled Default Gateway, which points straight to your router.
Method C: Deep-Dive Troubleshooting with ipconfig /all
If the standard command doesn’t provide enough technical depth for what you’re trying to diagnose, you can pull up a comprehensive hardware report by typing:
ipconfig /all
This expanded log outputs exact physical (MAC) addresses, DHCP lease renewal timestamps, hardware states, and explicit DNS routing definitions. It’s an absolute lifesaver when you’re trying to figure out why a connection keeps dropping.
Method D: PowerShell Commands for Power Users
If you prefer modern administrative tools, open a Windows PowerShell terminal and run:
Get-NetIPAddress -AddressFamily IPv4
This filters and organizes every active IPv4 assignment tied to your system interfaces into a clean table, letting you easily bypass virtual machine adapters or active VPN tunnels to find your main connection.
4. How to Track Down Your IP Address on macOS
Apple keeps things visually clean and straightforward, hiding technical clutter behind streamlined menus while keeping robust tools hidden under the hood for advanced troubleshooting.
Method A: Through System Settings
- Click on the Apple icon sitting in the top-left corner of your desktop screen.
- Select System Settings… from the drop-down list.
- In the left sidebar, click on Wi-Fi (or Network if you’re wired via an ethernet adapter).
- Locate your active network connection and click the Details button right next to it.
- A comprehensive info panel will pop up displaying your local IP address, Subnet mask, and primary Router.
Method B: The Menu Bar Shortcut Trick
Want a neat trick that takes literally two seconds? Hold down the Option (Alt) key on your keyboard, and click directly on the Wi-Fi icon in your Mac’s top menu bar.
Instead of the standard menu, a hidden diagnostic dropdown will appear, displaying your active local IP address, router gateway, security protocol, noise levels, and current link speed right on the spot.
Method C: Using the Mac Terminal
If you prefer handling things via the command line:
- Open Terminal (press
Command + Space, type “Terminal,” and hit Enter). - To instantly fetch the IP assigned to your primary Wi-Fi interface, type:ipconfig getifaddr en0
- Hit Enter, and your local IP address will print directly onto the screen. (Note: depending on your specific Mac model or hardware setup, your active interface might occasionally be listed as
en1, thoughen0is standard for modern machines).
5. How to Track Down Your IP Address on iPhone and iPad
Checking your local network configuration on iOS or iPadOS takes less than ten seconds once you know where to look.
- Open the Settings application from your home screen.
- Tap on Wi-Fi.
- Make sure you have a checkmark next to your active home or office wireless network.
- Tap the small “i” (information) button encircled in a blue outline right next to your connected network’s name.
- You’ll land on the network’s detailed status page. Scroll down just a bit to find the IPv4 Address section, where your device’s local network number (e.g.,
192.168.1.42) will be clearly displayed.
A quick word on cellular data: The IP details shown here exclusively apply to your local Wi-Fi connection. The moment you step outside, leave your Wi-Fi range, and flip over to 5G or LTE mobile data, your cellular carrier dynamically assigns your phone an entirely different mobile network address.
6. How to Track Down Your IP Address on Android
Because different phone manufacturers (such as Samsung, Google Pixel, Motorola, and OnePlus) heavily customize their software skins, Android menus can vary slightly depending on the brand you carry. However, the core logic remains uniform.
- Open your phone’s Settings app.
- Tap on Network & internet, Connections, or simply Wi-Fi (depending on your manufacturer’s specific layout).
- Open the Wi-Fi menu and locate the network you are actively connected to.
- Tap either the network name itself or the small gear icon / details button sitting right beside it.
- Scroll down through the page to find your device’s IP address and auxiliary network stats.
Pro Tip: If you ever find yourself lost wandering through heavily nested manufacturer menus, just open your Android Settings, tap the search bar at the top of the screen, and type IP address. It will jump straight to your network details page instantly, saving you time.
7. How to Check Your Public IP Address
If someone asks for your “IP address” because you’re trying to configure a remote desktop bridge to your home PC from across town, or because an online game server is giving you grief, your private 192.168.x.x address won’t help them at all. They need your Public IP address.
Finding your public IP address is remarkably straightforward:
- Open any web browser on your phone, laptop, or tablet.
- Type a quick query into your search engine: “What is my IP address?”
- The search results snippet or a trusted IP-checking utility will display your live public-facing internet address right on the screen.
Keep in mind that your public IP address is managed entirely by your internet service provider. If you unplug your home router for a few minutes, or if your provider pushes an overnight maintenance reset, that public address can shift. If you run a home server or require a permanent address that never changes, you’ll need to contact your ISP about acquiring a Static IP address.
8. Troubleshooting Common IP Headaches
When something goes sideways with a network connection, your device’s IP settings are frequently where your operating system leaves clues about what broke. Here are the most common anomalies you might run into and what they actually mean.
1. The Feared 169.254.x.x Address (Link-Local)
Have you ever checked your computer’s network properties and noticed an address starting with 169.254 instead of your usual 192.168 or 10.0?
This is known as an Automatic Private IP Addressing (APIPA) fallback state. It is essentially your computer’s way of throwing its hands up in defeat. It means: “I tried reaching out to the router’s DHCP server to get a proper local address lease, but nobody answered.”
When your computer fails to receive a valid assignment from your router, it assigns itself a temporary link-local address so it can technically still communicate with other stranded devices on the local wire, even though it has zero gateway access to the wider internet.
How to fix it:
- Check your physical Ethernet cable to ensure it isn’t loose, or toggle your Wi-Fi off and back on.
- Power cycle your home router to clear out hung DHCP assignment tables.
- Reboot your computer to flush corrupted network adapter driver states.
2. IP Address Conflicts
Have you ever seen an abrupt pop-up warning alert about an “IP address conflict”?
This occurs when two separate devices on the exact same local network accidentally try to claim the exact same private IP address (for instance, your laptop and your smart TV both somehow end up with 192.168.1.15). Your router gets thoroughly confused because it doesn’t know where to route incoming data packets.
This usually happens when someone manually assigns a static IP address incorrectly on a device without realizing it overlaps with the router’s active DHCP pool. Reverting all devices back to automatic (DHCP) allocation almost always clears this up instantly.
Summary Reference Table
| Platform | Quickest Path to Find Local IP | Command / Tool Alternative |
|---|---|---|
| Windows 11 / 10 | Settings ➔ Network & internet ➔ Wi-Fi/Ethernet | Command Prompt: ipconfig PowerShell: Get-NetIPAddress |
| macOS | System Settings ➔ Wi-Fi ➔ Details | Terminal: ipconfig getifaddr en0 |
| iPhone / iPad | Settings ➔ Wi-Fi ➔ Tap “i” icon | N/A (Graphical iOS Settings) |
| Android | Settings ➔ Wi-Fi ➔ Network Details / Gear icon | Settings Search bar ➔ “IP address“ |
| Public Internet | Open a web browser and search “What is my IP” | IP lookup websites |
Final Thoughts
Networking can feel intimidating because it’s completely invisible. You can’t physically touch an IP packet or see data bouncing through the airwaves around your living room. But once you realize that every connected screen in your house is simply part of a well-organized digital neighborhood—complete with internal house numbers (private IPs) and a global mailing system (public IPs)—everything clicks into place.
Whether you’re setting up a wireless network printer, configuring security cameras, or simply satisfying your own curiosity, knowing how to navigate your device’s network settings is a wonderfully practical skill to keep in your back pocket. The next time someone asks you for your IP address, you won’t have to guess—you’ll know precisely where to look.